The Beginner’s Guide to Concrete Rebar Installation
Installing rebar correctly gives concrete its strength, shape, and staying power. Small slabs or large structural pours, every job needs a solid start. Getting the basics right keeps the work moving and the results strong. For beginners, learning how to install rebar in concrete means knowing the right tools, safety steps, and layout techniques right from the start.
Rebar Basics and Safety
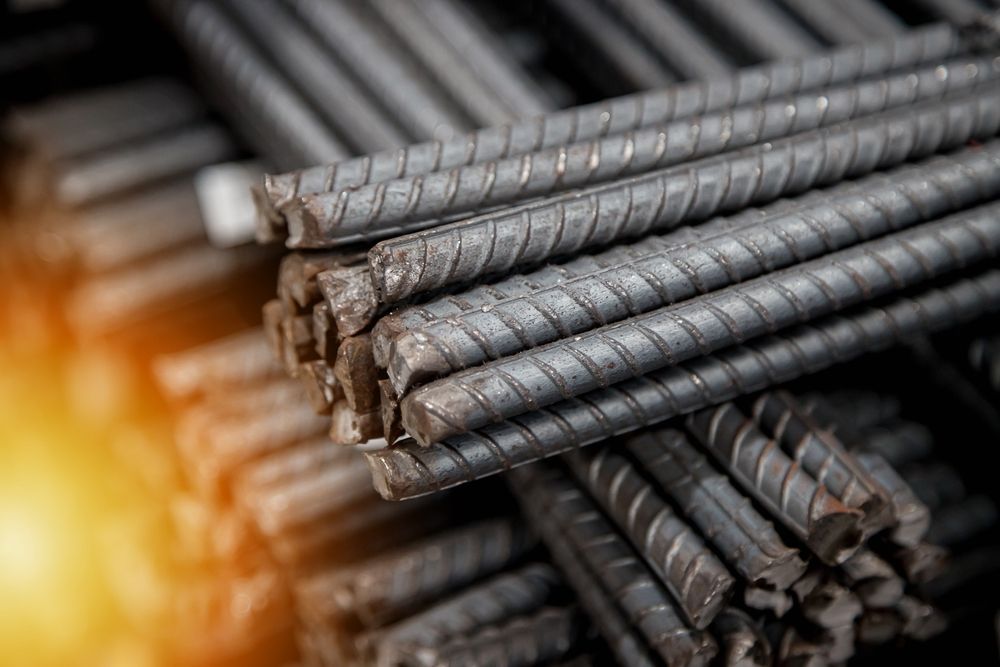
Rebar, short for reinforcing bar, strengthens concrete by handling tension that plain concrete can't. It's made of steel and comes in different grades, sizes, and surface patterns. Learn the difference between #3 and #5 bar, how the ribbing improves grip, and when epoxy-coated rebar makes sense for corrosion resistance.
Safety needs to stay front and center. Gloves help avoid cuts from sharp ends. Safety glasses protect against flying debris during cutting. Steel-toed boots guard against dropped sections. Every piece of rebar should be treated as a hazard when handled carelessly.
Tools & Materials You’ll Need
Before placing your first bar, make sure your setup is complete. Missing tools slow the job and create avoidable risks. Keep everything nearby so you’re not running back and forth.
Basic tools and materials include:
- Rebar (correct size and grade for the project)
- Rebar cutter or angle grinder
- Rebar bender or bending jig
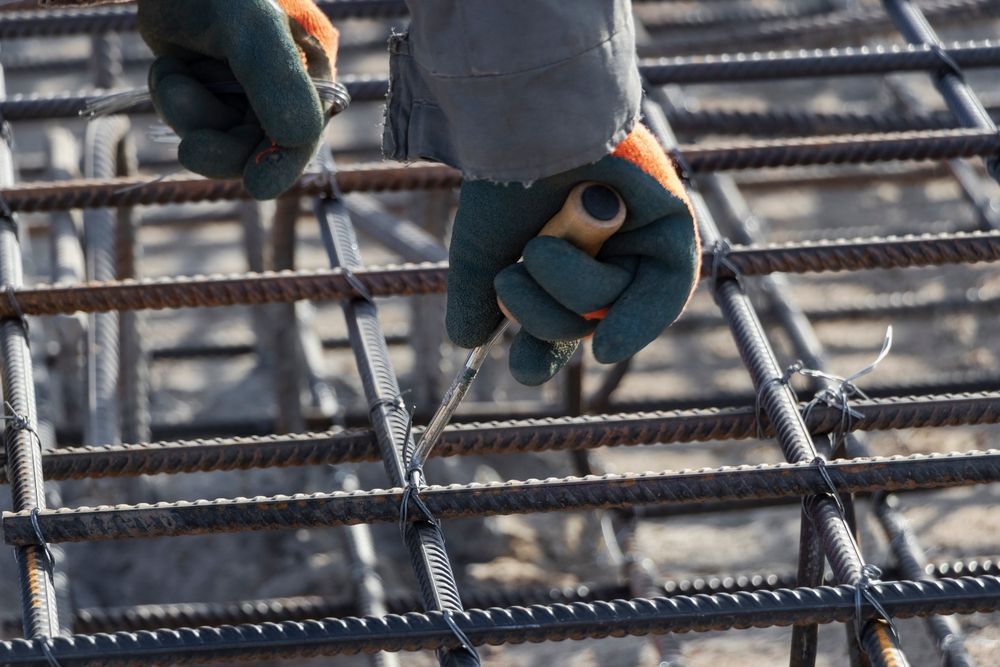
- Tie wire and wire twister
- Rebar chairs or spacers
- Measuring tape and chalk line
- Work gloves, safety glasses, steel-toed boots
- Construction drawings or layout plans
Having the right gear from the start sets the pace for a smooth install. Bracing Systems stocks
construction supplies designed to match the pace of active job sites, so you're never stuck waiting on what you need.
How to Install Rebar in Concrete
Getting rebar in place the right way keeps your slab or structure strong, stable, and built to last. Installing rebar is more than lining up steel. It creates a support system that handles weight, limits cracking, and meets inspection standards. Small details like bar overlap, chair spacing, and tie strength can make a big difference. Follow each step carefully to avoid delays, material waste, or structural issues.
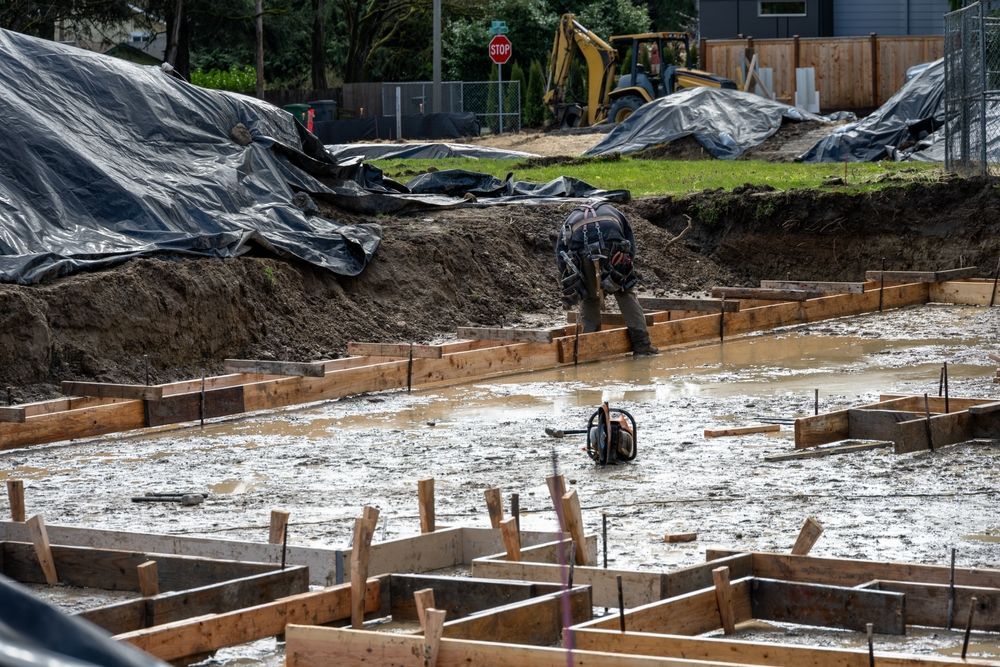
Step 1: Layout, spacing, and cover
Start with a clean, compacted base and a good set of layout drawings. Use chalk lines or spray paint to mark grid lines and outlines for footings or pads. Stick to the specified spacing, which often ranges from 12 to 18 inches on center. Spacing too wide can reduce slab strength. Spacing too tightly makes pouring more difficult.
Keep rebar at the right depth by maintaining proper “cover,” usually 2 inches from the edge in slab work. That layer of concrete protects against rust and improves long-term durability.
Step 2: Cut, bend, and tie rebar
Every job requires adjustments. Rebar will need to be cut to fit inside forms and bent around corners or into footings. Use a rebar cutter or angle grinder for clean, accurate cuts. Bending jigs or manual benders create smooth curves and consistent angles.
The tie wire holds the grid together. Ties should be snug, not over-tight, and placed at every bar intersection or overlap. A consistent tie pattern helps the grid stay intact while concrete is placed and finished. For complex layouts or custom bends, many contractors rely on local rebar fabrication to save time and improve accuracy.
Step 3: Secure with chairs and supports
Once your grid is tied, it needs to be lifted into position. Use chairs, dobies, or plastic spacers to hold the steel off the base or formwork. Without support, rebar can shift or sag under the weight of the concrete.
Chairs should be spaced every 3 to 4 feet and placed before the pour begins. Use the type that matches your site. Plastic chairs work well for slabs on grade. Steel chairs are better suited for vertical forms or high-heat conditions. Make sure everything stays steady during setup and placement.
Step 4: Double-check before pouring
This is your last chance to fix anything before the concrete goes in. Walk the rebar layout and check every section. Look for loose ties, missing chairs, incorrect spacing, or exposed bar ends near the forms.
Review your drawings and use a tape measure to confirm layout dimensions. Inspect overlaps, bar sizes, and clearances. Making corrections now saves time, money, and frustration later. A final walkthrough helps avoid failed inspections or callbacks.
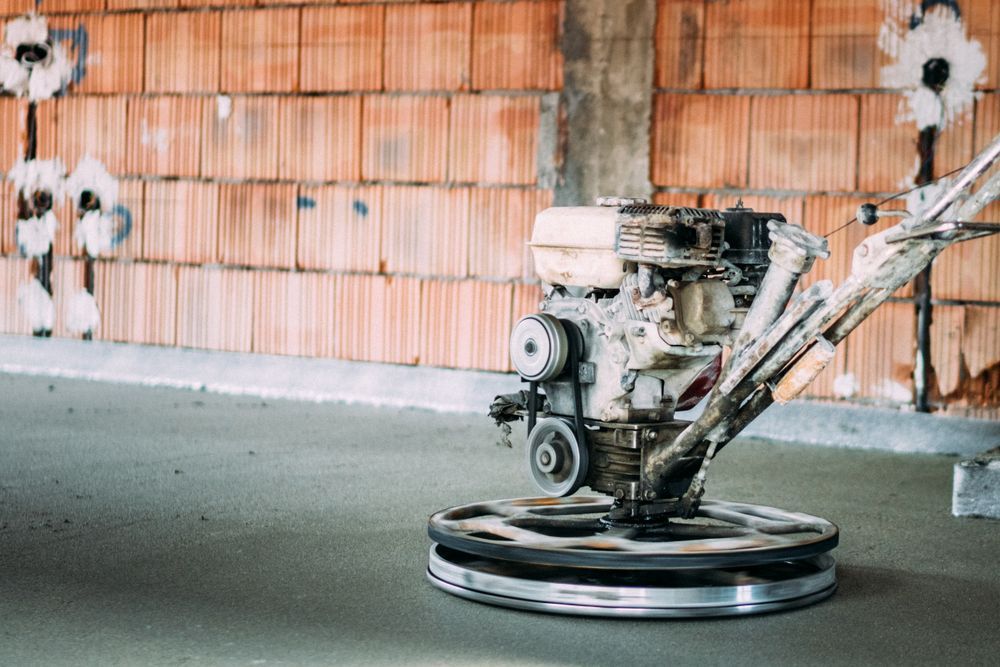
Step 5: Pour and protect your work
Once the concrete truck shows up, things move fast. Assign someone to monitor the rebar grid while the hose is moving. Keep the steel in position while the mix flows in and around it. Watch corners and footings closely, since bar movement is more likely in tight spaces.
After finishing, protect the surface during curing. Use curing blankets, barriers, or protective covers as needed. Avoid heavy foot traffic until the slab reaches strength. A careful pour locks the rebar into place and gives your structure the support it needs over time.
Applications and Common Challenges
Rebar plays a role in almost every kind of concrete job. Sidewalks, driveways, footings, foundation walls, retaining walls, and slab-on-grade pours all rely on reinforcement to stay strong over time. The right bar size and layout depend on factors like load, soil conditions, and structural design.
Problems often show up during layout or tying. Watch out for:
- Poor spacing
- Missed corners
- Insufficient cover
- Rebar shifted during a muddy pour
- Delays from vertical bars or tight bends
These issues can lead to cracks, corrosion, or failed inspections. Planning ahead keeps the work on track and reduces rework.
Your Next Steps With Bracing Systems
Once you’ve got your layout, tools, and plans in place, it helps to work with a supplier that understands the pace and pressure of concrete jobs. Bracing Systems stocks the rebar tools, wire, chairs, and layout gear you’re already looking for.
Need advice on bar sizing or placement? Our crew has real field experience and can help you find what fits your scope. If you’re on a tight schedule, we offer quick quotes, fast will-call pickups, and jobsite delivery options across Northern Illinois, Wisconsin, and Northwest Indiana.
Ready to Start? Visit Hanover Park or Call
If you're lining up your next concrete pour, make
Bracing Systems your first stop. Our Hanover Park location is fully stocked and ready for walk-ins, call-ahead orders, and contractor pickups. Need something delivered to the jobsite?
Contact us and we’ll get it moving. You might be grabbing a roll of tie wire or gearing up an entire crew. Either way, we’re here to help you keep the job on schedule.

We understand your challenge: To get all your equipment and supplies reliably and on time, while maintaining good profit margins.