What Is Tuckpointing? A Guide for Masonry Contractors
Tuckpointing replaces deteriorated mortar in masonry joints, while repointing more specifically refers to removing failed mortar and replacing it with compatible material. For masonry contractors quoting or planning this work, the scope goes well beyond the joint itself. Removal depth, mortar condition, tool selection, dust control, and wall access can all affect labor, production rates, equipment needs, and the final estimate.
What Is Tuckpointing?
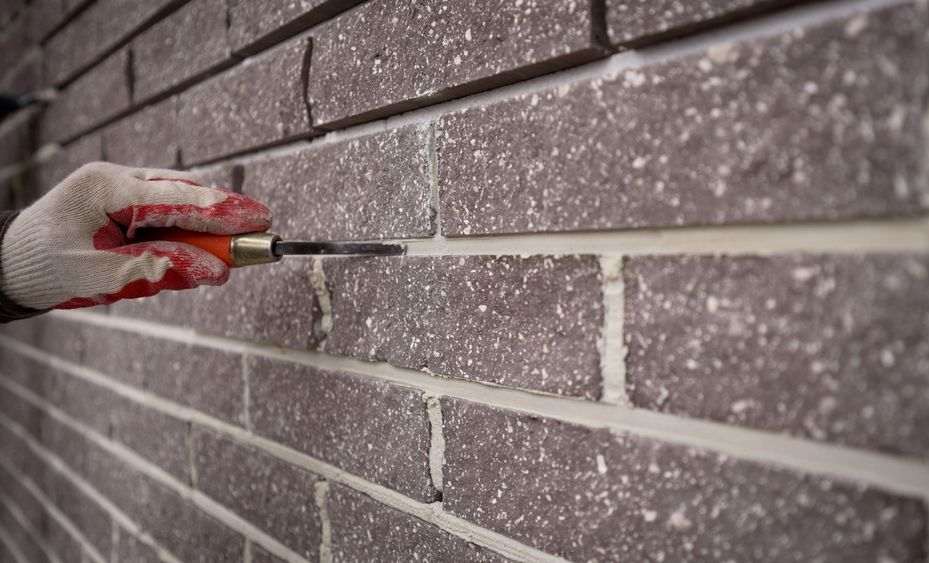
Tuckpointing is masonry joint work that traditionally uses two contrasting mortar colors to create clean, uniform-looking joints. Repointing refers to removing deteriorated mortar and replacing it with compatible new mortar to restore the joint. Today, tuckpointing is also commonly used as a broader term for mortar-joint repair, including repointing. For contractors, defining the actual scope is more useful than relying on the terminology alone, especially when estimating removal, replacement, and finishing work.
When Contractors Should Consider Tuckpointing
The right repair scope depends on how far the deterioration extends and the condition of the surrounding masonry. Contractors should inspect joint depth, brick condition, movement, and existing mortar hardness before estimating the work.
- Patch repair: Best for isolated areas where deterioration is shallow, and the surrounding joints remain sound.
- Tuckpointing: Better for widespread joint deterioration when the brick or block remains stable. Failed mortar should typically be removed 2 to 2½ times the joint width, reaching sound material before new mortar is placed.
- Rebuild: Consider rebuilding when masonry units are loose, displaced, badly spalled, or affected by movement that joint repair will not correct.
Mortar hardness testing or analysis can also help identify a compatible replacement, especially with older or softer masonry.
Tuckpointing Tools Every Contractor Needs
Tool selection affects removal speed, joint quality, dust control, and the risk of damaging surrounding brick. An angle grinder fitted with a tuckpointing wheel handles efficient mortar removal, while joint rakers and chisels are useful for tighter joints and areas where grinder control is limited. Mortar guns or grout bags can fill prepared joints, with pointing trowels, hawks, jointers, and slickers used for placement and finishing.
Dust control also belongs in the tool setup. Grinder shrouds, HEPA vacuums, proper dust collection, respirators, eye protection, and other PPE should be planned before grinding begins. Bracing Systems carries
masonry tools and equipment for mortar removal, placement, finishing, and jobsite dust control.
Scaffolding and Access for Tuckpointing Work
Wall height, project size, site conditions, and crew movement should drive the access plan. Choosing among the best types of scaffolding systems comes down to how crews need to move across the elevation and how long they will work there.
Frame scaffold fits straightforward elevations that need continuous access.
Hydro Mobile mast climbers create an adjustable platform for larger elevations, while
PowerMast climber scaffolding can suit projects where powered access matches the wall configuration. Articulating lifts are useful for isolated areas and frequent repositioning. Access planning should also account for applicable OSHA requirements, fall protection, load limits, and safe setup.
Quoting a Tuckpointing Job: What to Include
A solid quote starts with a clearly measured scope and the conditions that affect production. Depending on the project, contractors may price by linear footage of joints or square footage of wall area. From there, the estimate should account for:
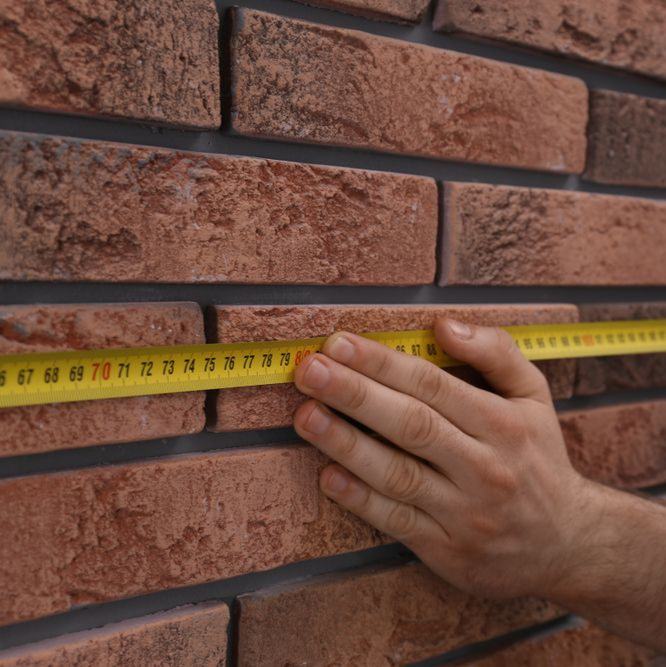
- Mortar removal: Specify expected removal depth and areas needing additional joint preparation.
- Mortar matching: Account for color matching, custom blending, samples, or test areas when needed.
- Dust control: Include grinder shrouds, HEPA vacuum use, filter maintenance, PPE, and cleanup time.
- Access: Add scaffold, mast climber, or lift rental rates, including the expected number of days.
- Protection: Factor in masking or covering windows, doors, finished surfaces, landscaping, and nearby work areas.
- Finishing and cleanup: Include joint finishing, required curing and protection time, debris removal, and final cleanup.
Documenting these items helps keep added labor and equipment from becoming unplanned costs after work begins.
Find the Right Tuckpointing Tools at Bracing Systems
The right tools and access equipment can help crews maintain productivity throughout a tuckpointing project. Bracing Systems Inc. carries masonry tools, jobsite equipment, and
scaffolding rentals for contractors working across Northern Illinois, Wisconsin, and Northern Indiana. Planning an upcoming tuckpointing job?
Contact Bracing Systems to discuss the tools and access equipment that fit the wall height, project scope, and work your crew has ahead.
FAQs
What mortar type should you use for tuckpointing?
Mortar should be compatible with the existing masonry and generally softer than the brick. Type N, around 750 psi, is commonly used with modern above-grade brick, while Type O, around 350 psi, or appropriate lime-based mortar may suit softer historic masonry. Type S, around 1,800 psi, is intended for applications needing greater strength, such as certain below-grade work. Mortar that is too hard can contribute to brick damage and spalling.
How deep should you grind out the old mortar joint?
A common benchmark is to remove deteriorated mortar to about 2 to 2½ times the joint width, reaching sound mortar before placing new material. For typical brick joints, that can mean roughly ½ to 1 inch. Joint width and existing conditions should determine the actual depth. Removing too little deteriorated material can leave an inadequate bonding surface and shorten the life of the repair.
Does OSHA's silica Table 1 apply to tuckpointing?
Yes. OSHA Table 1 covers handheld grinders used for mortar removal. The grinder should use a shroud and dust collector with at least 25 CFM of airflow per inch of wheel diameter, 99% or greater filter efficiency, and a cyclonic pre-separator or filter-cleaning mechanism. Table 1 specifies APF 10 respiratory protection for shifts of four hours or less and APF 25 for shifts exceeding four hours.
What temperature range can you tuckpoint in?
Cold-weather masonry precautions begin when temperatures fall below 40°F, so contractors need to account for material temperatures, protection, heating, and curing conditions as temperatures drop. Fresh work may need protection from freezing for an extended period based on conditions and the mortar system. Hot, dry weather also creates problems because rapid moisture loss can interfere with proper curing, making shade, dampening, and wind protection important considerations.

We understand your challenge: To get all your equipment and supplies reliably and on time, while maintaining good profit margins.